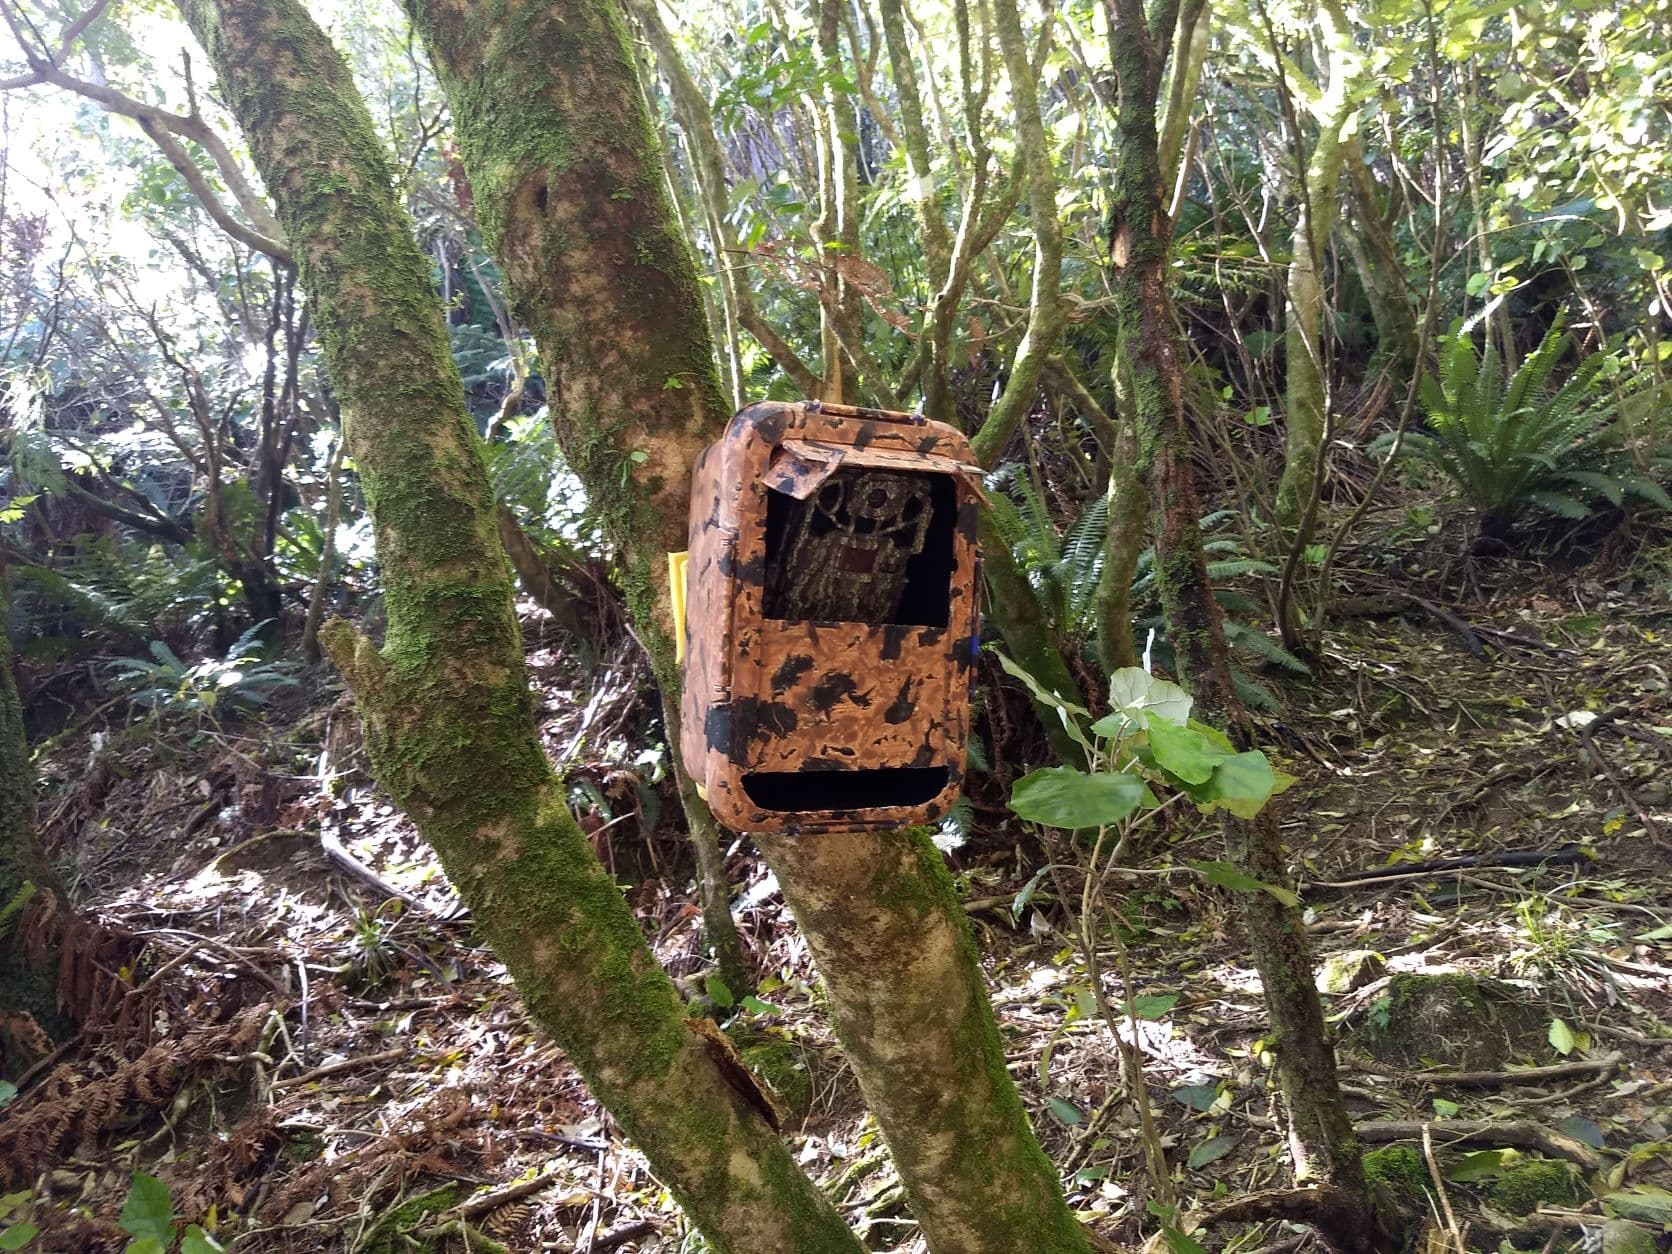
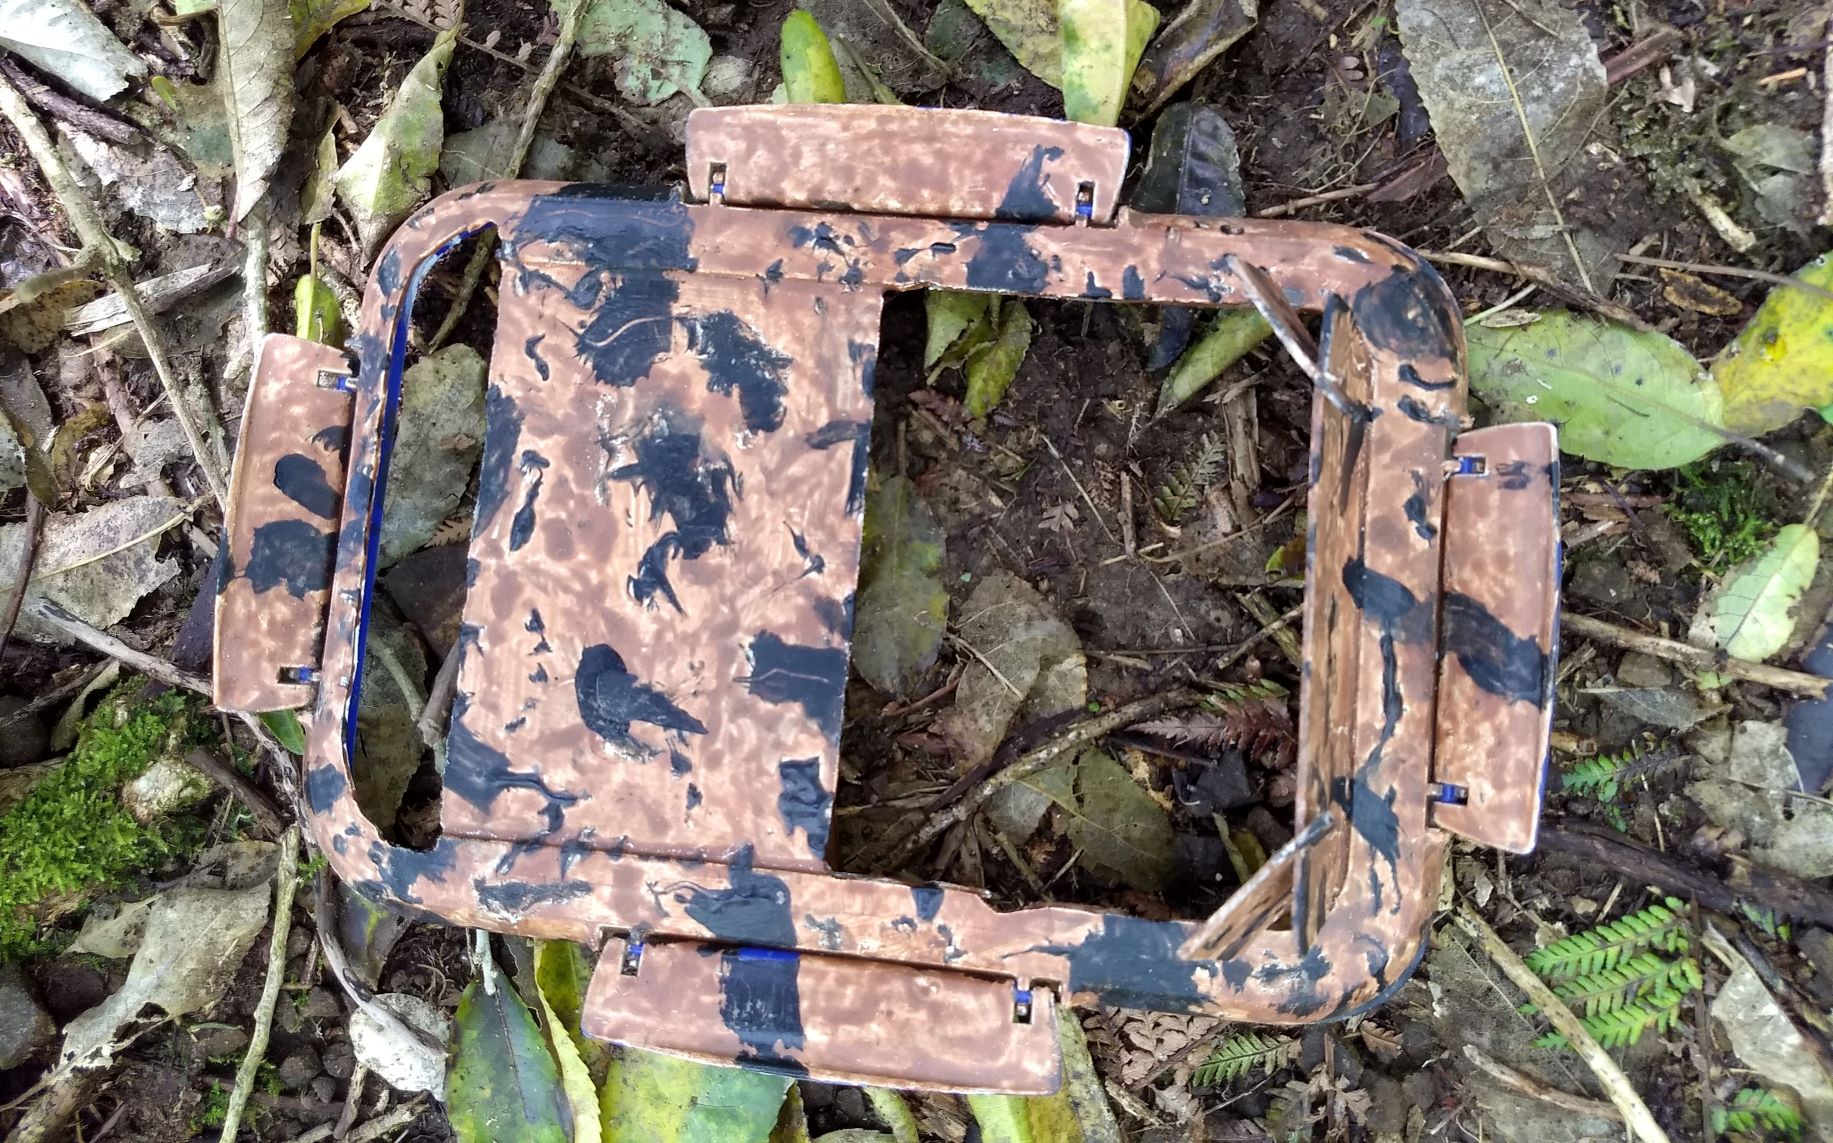
The enclosure is made from a $7 Sistema box with a bit of paint etc. I cut the holes in the plastic using a Dremel, but I imagine you could get the same result with a sharp knife or a jigsaw. The overhang above the camera window is made by cutting the edges and bending the piece up. The wing pieces of the overhang are cut out from the discarded plastic from the camera window, and slotted into place (a bit like a balsa wood plane). The wing pieces do not support the overhang, they just prevent rain ingress from the sides.
The bottom hole ensure that if any rain does get in it will drain out.
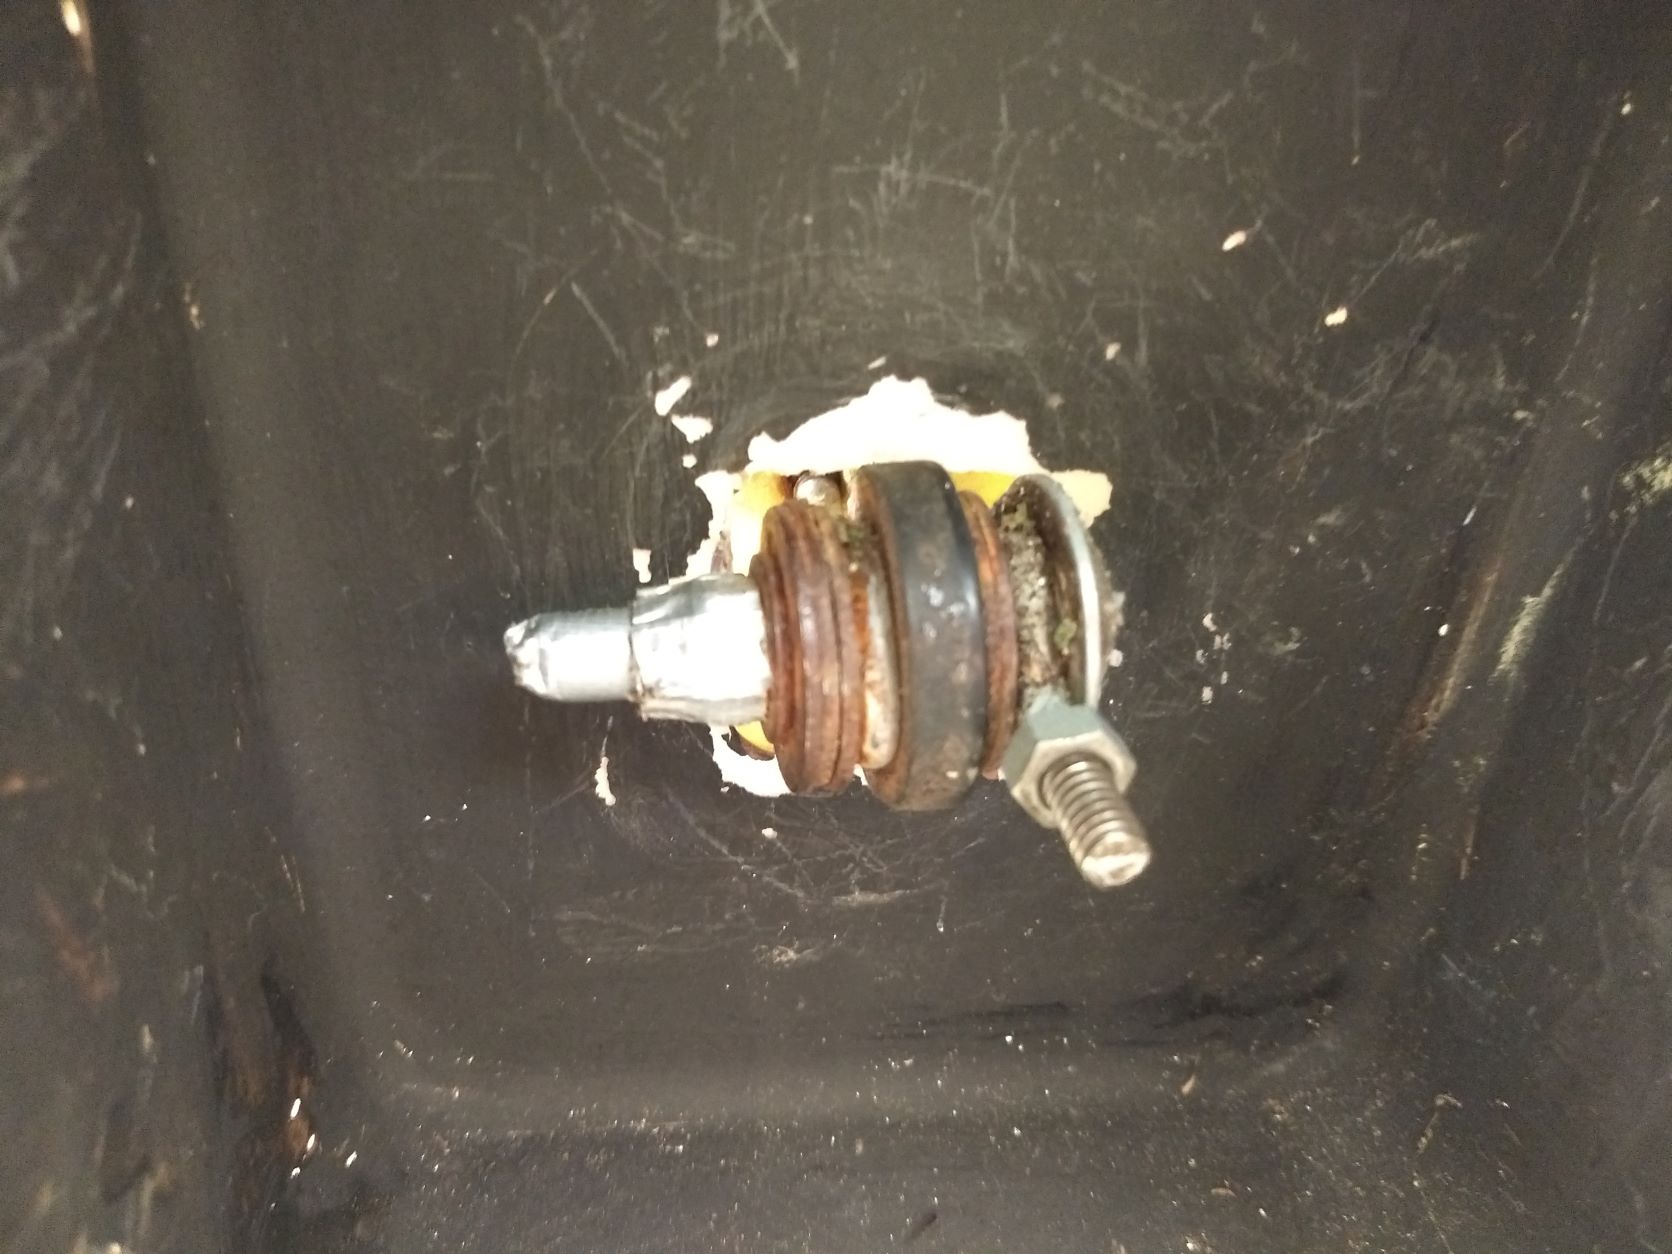
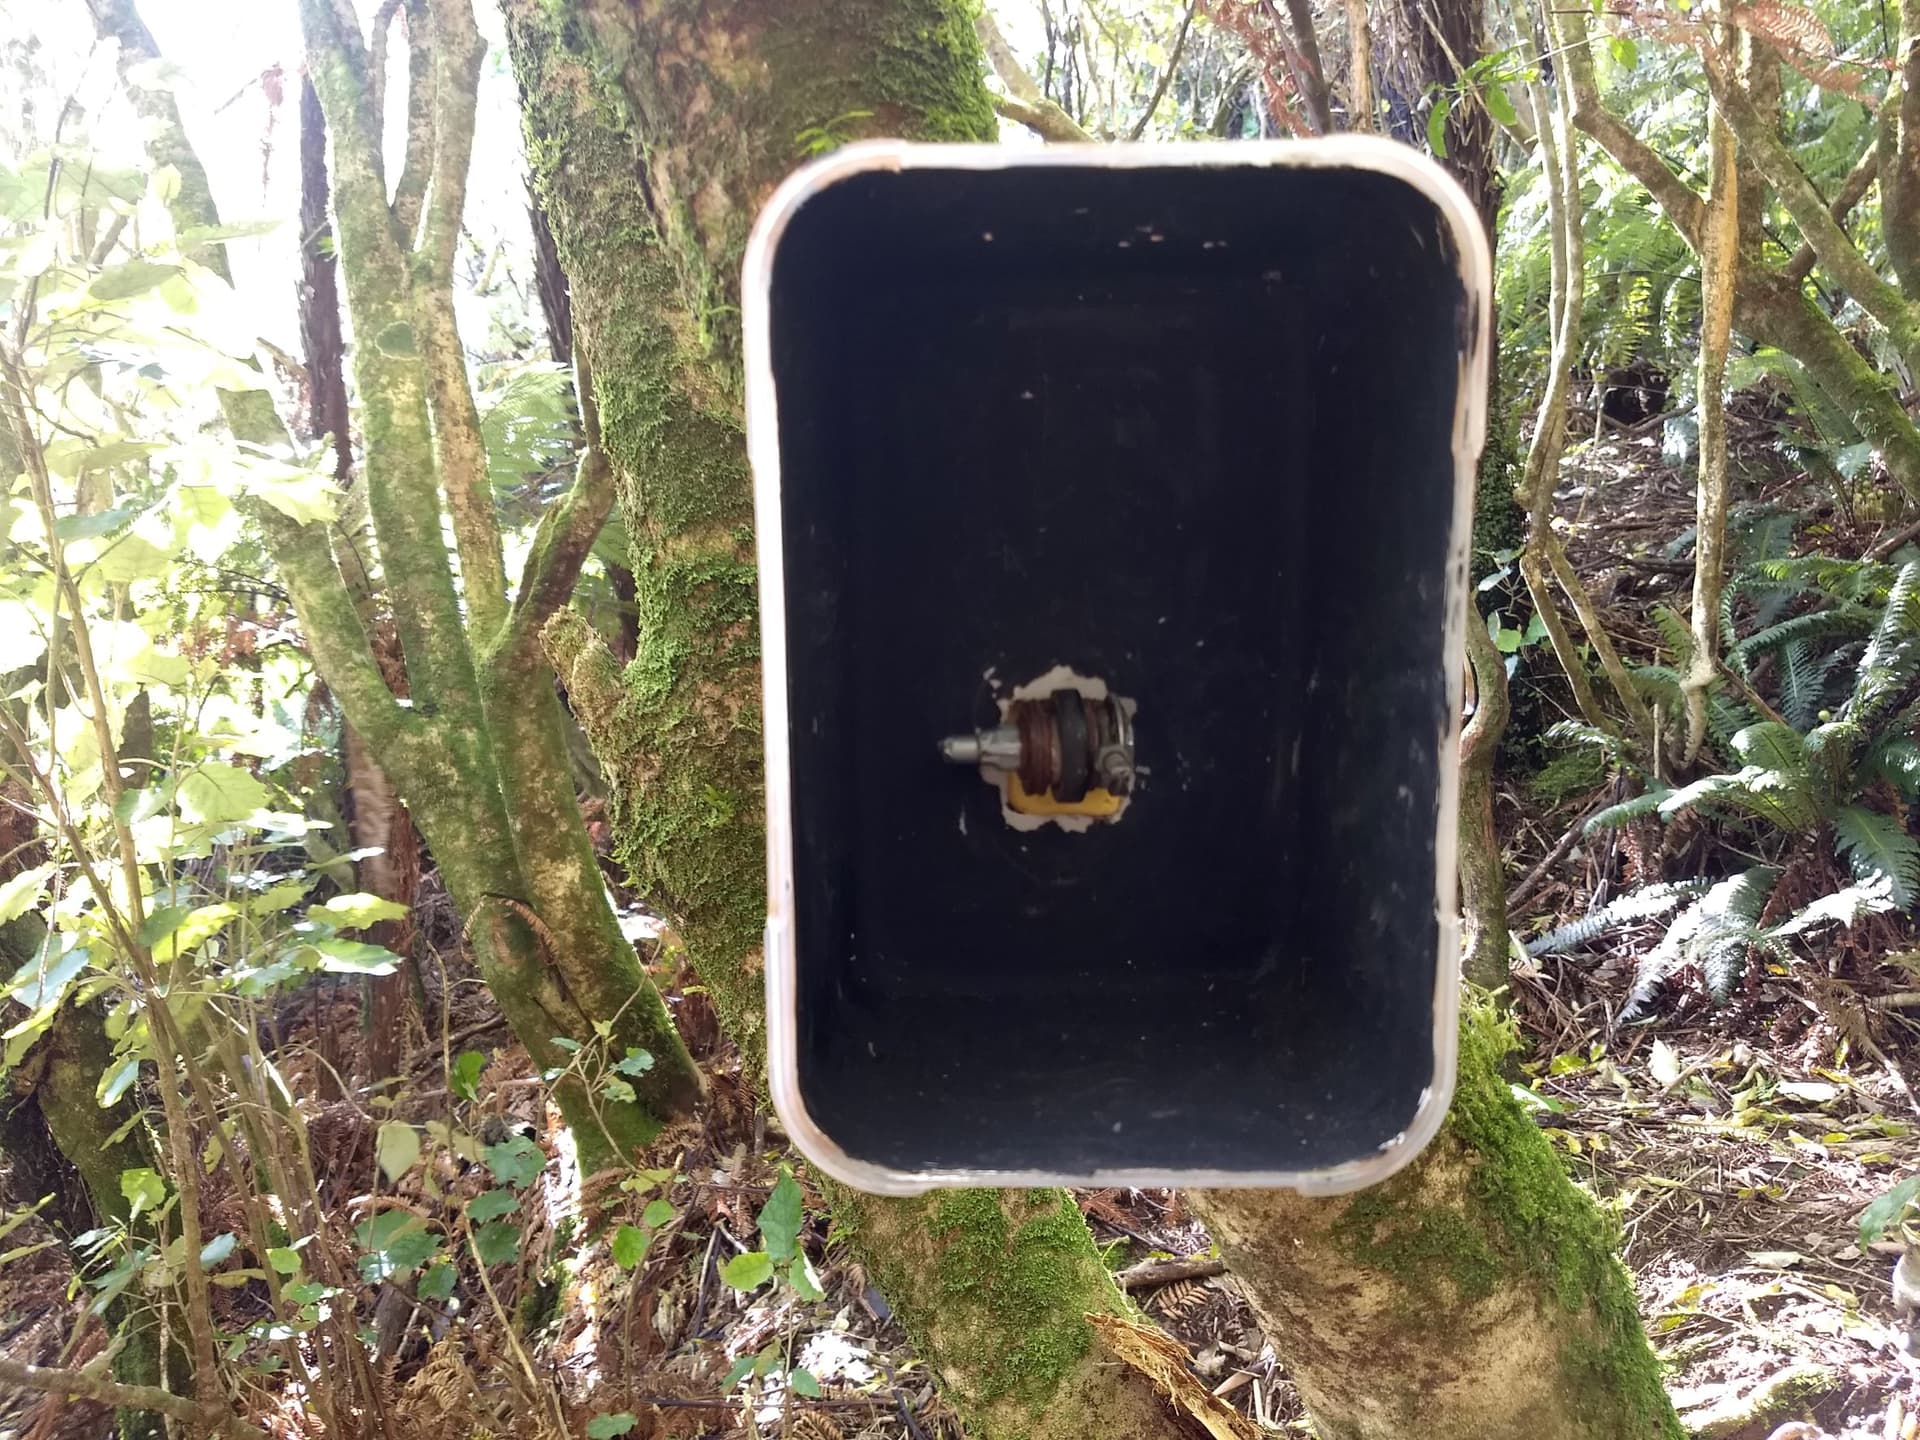
The adjustable camera mount was made from one eye-hook screw (screws into tree), one eye-hook bolt/lock nut (to attach camera), a few washers (including a rubbber one) and a through bolt.
I use pieces of folded foam behind the camera to hold the box at the right angle, I imagine I can improve on this arrangement when I find the time.
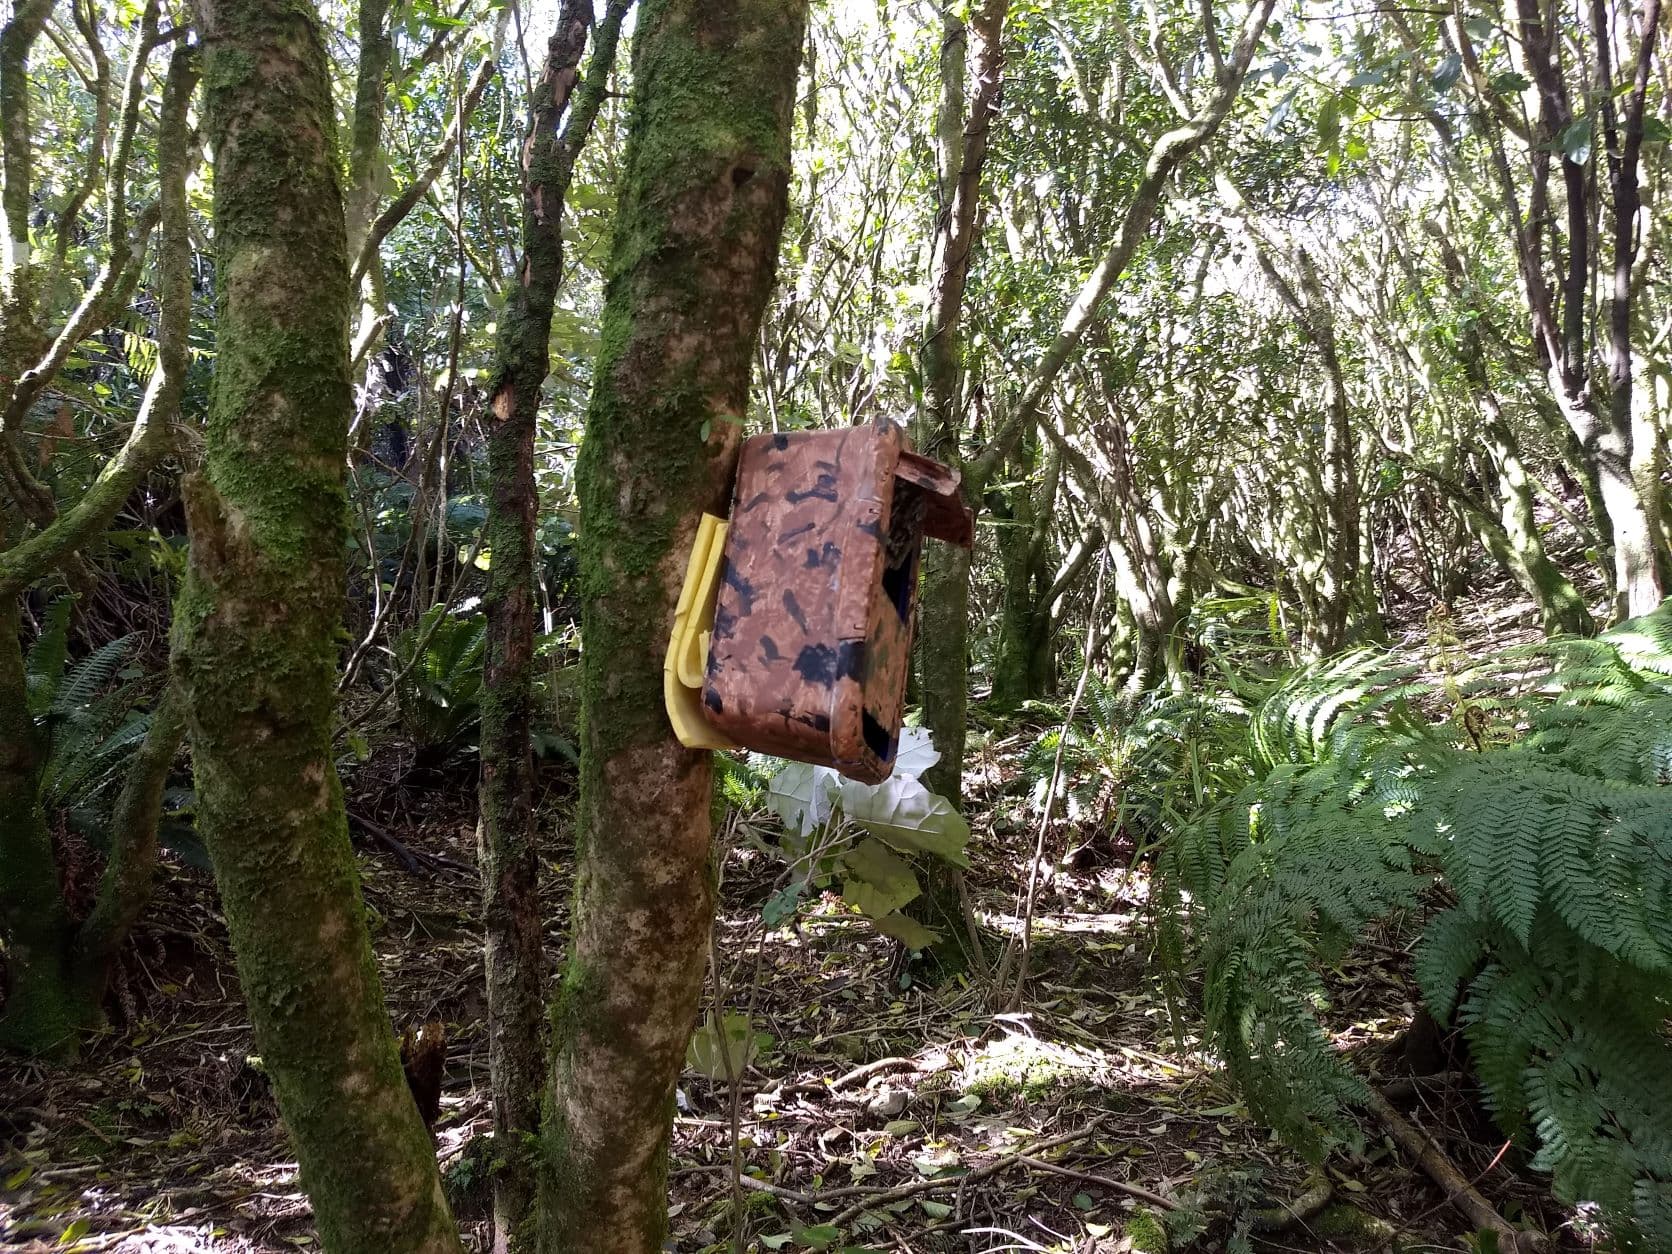
It is all very crude but works perfectly well. Plenty of room for your own refinements. My camera has not got wet since I built the enclosure, despite multiple torrential downpours and Wellington gale force winds. Before using the enclosure my first camera lasted six months before I sent it back with water inside. I am not sure how well the enclosure would work in a very exposed, windy spot, but it could probably be modified to suit.
I’ve been using webcams for many years and they appear to cope with rain very well without any external protection. I usually have mine on a tripod and that sometimes gets blown over. And a couple of times it has been knocked over as a ruru attempted to land on it. My biggest problem is condensation on the lenses in cold weather. Is this a problem for you and does your enclosure help?
I imagine the weather resistance depends on the make of camera (what are you using?), the way the cam is used, and the local climate. Unfortunately I do not think I am alone in finding that some trail cams are susceptible to the ingress of water over time.
As I am sure you know, condensation occurs when an object is at a temperature which is below the Dew point. On the face of it I am not sure why this sort of enclosure would help…but my general observation is that overhangs often do seem to reduce dew and frost formation in the garden, so who knows? I also know that ‘surface hoar’ is regarded as a ‘precipitation process’ so maybe dew is too, not sure! In passing I have noticed that the surface of the lens and IR windows remain much cleaner since I started using the enclosure.
Interesting idea that I might play with Dan. I have a couple of trail cameras where the battery packs insert from the bottom, but they don’t have a latched seal. I guess they partly rely on the gravity pulling the rain drops down and not up into the unit. They ok in most conditions, but I notice it torrential/prolonged rain (perhaps followed by sunshine) they tend to let some moisture in the bottom despite having a rubber seal. I suspect there is some type of osmosis or something where it is drawn inward. Perhaps when the air in the unit cools, it contracts and a little moisture seeps in. Then in the sunshine it evaporates and carries it upward and fogs up the camera lens cover.
I do get some dew on the lens in the wee hours too and have been meaning to try a simple lens cover to see if that helps.
I bought a Systema box, but turns out it is about 4mm too narrow for the cameras that leak a little. I might need to be some extra mods or get a larger container. Hell, even a 2L ice cream container could probably be modded as a simple roof.
Thanks for your comments, always great to have some feedback
I think the susceptible areas of my camera are the power cable rubber seal and the SIM card insertion slot. To be honest I would say my problems started when I mounted the camera body at more than 90 degrees, I doubt it was designed to be waterproof at that angle. But even so, I am really happy with how dry the camera now stays within the enclosure.
I think your comments on thermal expansion/contraction pulling in the moisture - I agree, that is quite possible. And once the moisture is inside the unit, it is downhill from there unless you pick it up immediately.
I am sure an ice cream container would do just fine…look forward to the pics!
At least you will be able to find another use for the Sistema box.
It’s actually not such a magic solution, the most common filament used with those, PLA, fares pretty poorly with sun exposure and is also quite brittle. You can also get ABS filaments but that doesn’t handle UV well, so you’d need to go to more exotic stuff like PETG, and even that needs protection from NZ’s UV levels, although it’s not as susceptible as other filament types. Even with PETG you get comments on forums about vendor A being better than vendor B because of a slightly different composition, I think there’s as many different opinions there as there are on rat/possum bait types.
Certainly your case, which will be polypropylene, will outperform anything you can do with a readily-available 3D printer. In fact I’m surprised you got the paint to adhere to it, since PP is designed to be difficult to adhere to - try gluing it, for example.
You are obviously very knowledgeable, sounds like there is even more to 3D printing than I imagined.
I used a multipurpose primer which seems to do a pretty good job. The top coat adhesion is good enough to survive a scratch test with a finger nail but I wouldn’t claim much more than that. It has survived the elements without issue for a good many months now. Glad my choice of PP was the right one!