Hi i covered bits of this in other posts but this info sheet might help you out when adjusting set off weight on DOC type traps, can save you a heap of time and really handy where you have rusty screws holding the trap in place
DOC trap sear adjust up.pdf (366.3 KB)
2 Likes
What about drilling a small hole in the floor of the trap box so you can poke a nail thru and it comes thru the floor and is in direct contact with the sear. I have done this and it seemed to work ok on the couple of boxes I did it to.
1 Like
Hi sounds good, that is what the forum is all about swapping ideas and things you have found to work
anything to not have to do the DOC method and take the trap out of the Box is good
as I mention in my info sheet, you Just have to be careful not to damage the light spring that pushes the treadle plate up, 200’s are not too bad but on the 250 the spring goes right under the center of sear
drilling a hole in the floor doesn’t easily work for me as all the boxes are staked to the ground
cheers
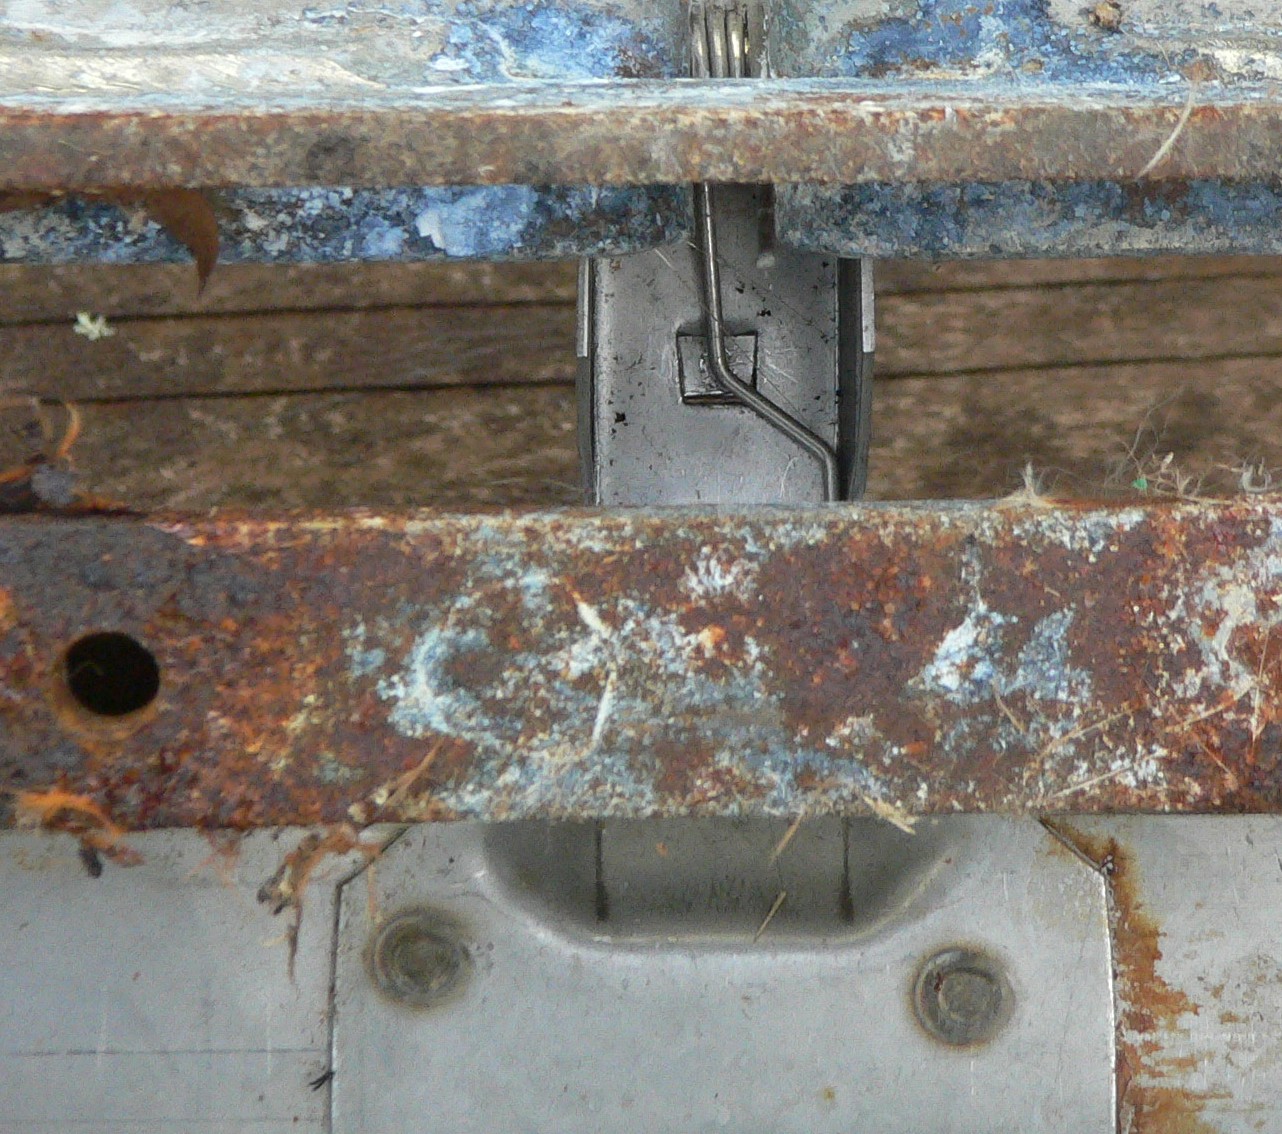
This is where the treadle spring on a 250 sits, so if trying to raise the sear with the trap still in the box you need to take extra care
Gday Dave, Never knew that about 250s as I have never run them, mainly 150’s in my high country lines and 200s locally. cheers K
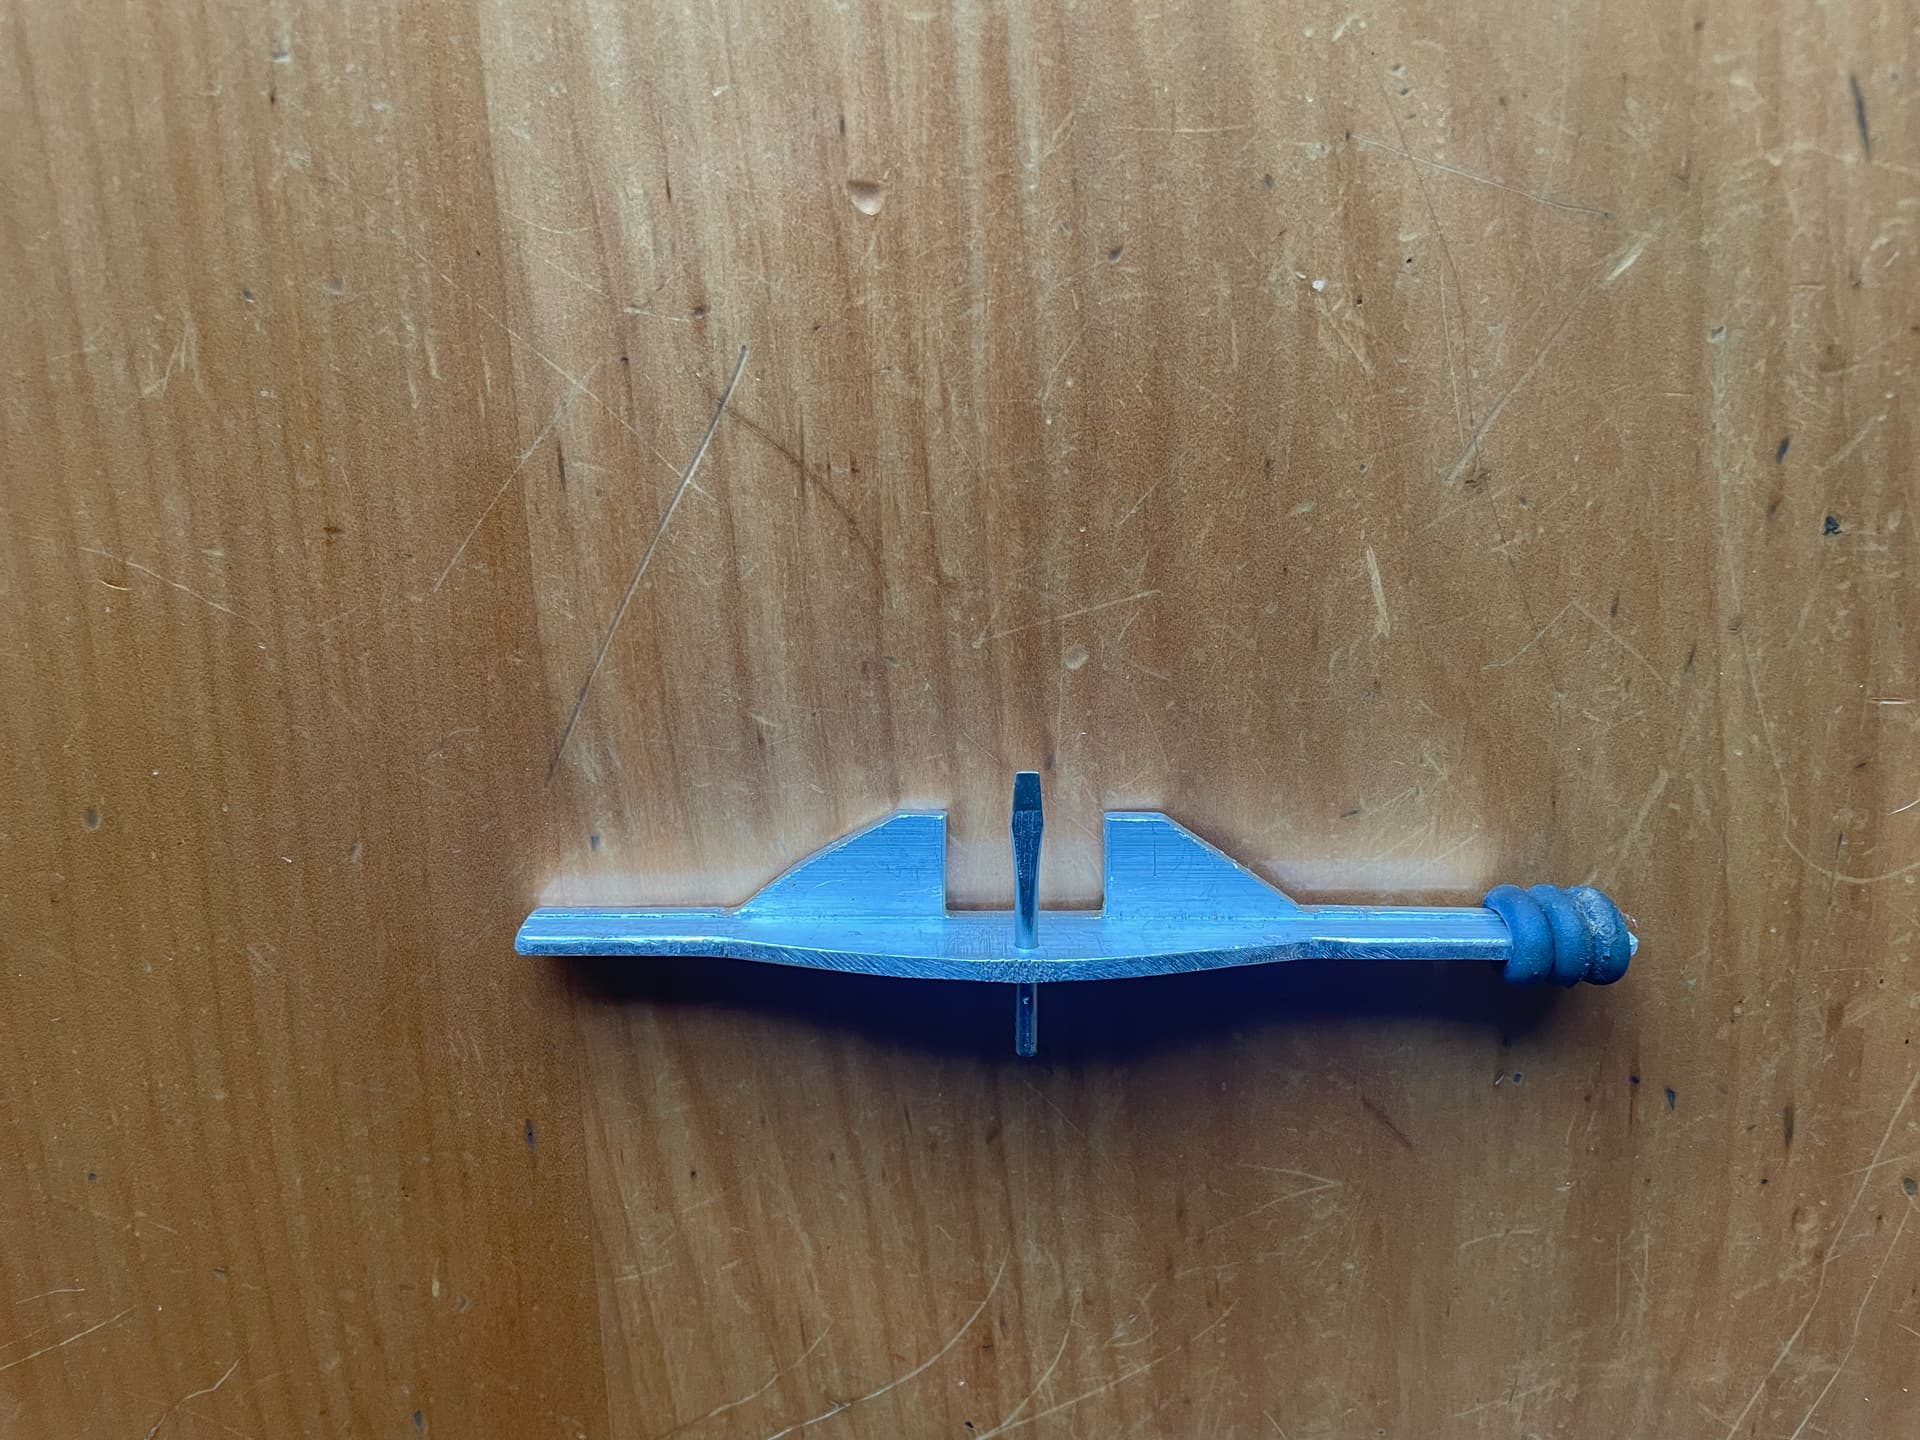
We designed a tool that you can put in under the trap, it’s a little fiddly at first but you get quite proficient after some experience. It uses a fine screwdriver tip to push the sear up. I have attached a photo.
You need to be careful adjusting the sear, increasing the height of the sear means the treadle moves more before trap sets off with the consequence that more animals will escape capture. Sear height affects the sensitivity of the trap rather than weight set off. The correct way to alter weight set off is to bend the bottom tip of the trigger arm, if you look closely at the trigger arm it has a short piece that can be bent. bend forward decreases set off weight, backward increases set off weight. Sear ideal at around 1mm clearance. Cheers Pat
1 Like
Hi Pat
Nice looking tool, and as I said above good that people are contributing what they have learnt to the forum to help others, any ideas are probably better than what DOC best practice says to do.
The idea with the tools I make is they are cheap and easy that basically anyone can make, and you can leave in a field kit bag for the odd time you need them. The same goes for my setting tools and safety clips which anyone is welcome to copy.
This conversation also extended to my post in Tips and tricks on DOC traps animal interactions. Marcus from Trap Tools put a video there and it looks like they will shortly be releasing a tool similar to yours. The comment I made there is that you have to be very careful with the 250’s as the fine spring runs right across the middle of the Sear so easy to damage.
cheers
Good morning. Some very useful ideas here. In general, we at PRS calibrate traps before deploying. This way the basics can be done on the bench.
We calibrate to => 100gm which coresponds to a sear gap equal to the thickness of a hacksaw blade. For double 200s this also reduces the possibility of sympathy springing.
One thing we have noticed is that one supplier delivers traps with the sear closed right up. So the gap needs to be set out of the box.
This caught us out recently when we deployed a whole new batch of DOC200s that have a near-flat sear. Catching way too many mice and lots of dry-fires.
Hi. Yes, it’s just one supplier that’s sold us traps with this issue. For the latest order, they have agreed to supply them with opened up sear gaps. This makes them easier to set even in the boxes. IMHO dealing with near flat sears it’s best to get the trap out of the box for the initial setting.
Another issue we have with this supplier is their use of two bolts and nuts to fix the trap in place. If it’s been sitting out in the field for any length of time no amount of muscle with a socket will remove the nuts. You also run the chance of ‘rounding’ the bolt in the box’s base making the job even harder. Galvanised tech screws with an 8mm hex head are the things to use.