Previously I posted an info sheet on ramps and covering treadle plates to improve catch rates
To both answer questions raised and give people more info on which to base decisions I have expanded on that original info sheet.
DOC traps ramps and treadle plate.pdf (1.0 MB)
5 Likes
That’s a great document. I’ve a couple of suggestions further.
The recent report: Biosecurity device efficacy testing
on ship and Norway rats, by Garvey et al details how the entrance and baffle can also affect bait take by rats; stainless entrance and baffle can reduce it by more than 90%. “non-metal, larger, smoother entrances will improve trap efficacy”
Re the ramp height, most talk has been about building a ramp that lifts the pest to the same height as the treadle. From the limited trail camera videos I have of ship rats escaping triggered triggered traps, they were able to jump back off the treadle before getting hit. When designing the NestGard tunnel, I made the ramp 4mm higher than the treadle. My logic was that it is harder to jump back when the pest has stepped down onto the treadle and applied sufficient force to trip it.
1 Like
Hi Marcus
I posted that report by Garvey and will now see if I can delete it, Looks good over a speed read and a coffee but on the 2nd and 3rd read less so. I was left scratching my head so forwarded to some smart people who were also left scratching their heads.
Some of what they say does NOT seem to stack up with the actual data provided in charts at the end of document page 24. that I missed after the first read
Take your example ply entrance to stainless ship Rat interaction out of 20 rats, with round ply entrance was 16 ship rats with the stainless it was 17, one up for stainless entrance baffle. Bait taken ply 16 stainless 16, so the same.
They missed some details like the size of opening in the stainless baffle, I don’t use them so don’t know the size. But the size of opening becomes more important for the internal Baffle because as you will know depending on how the treadle plate sits it can further restrict the opening, causing fewer animals to go through.
Yes I agree with your comments on the ramps. where I think the difference can be is by covering the treadle plates and possibly a larger internal opening can we make the animals less cautious and be more engaged or further over the treadle when the trap goes off, lessening that chance of escape
the other day your mate Cam told me you had also made a sear tool that was on You Tube I searched but couldn’t find anything and it’s not on your website.
cheers
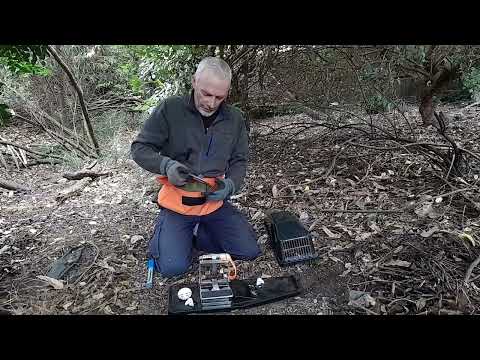
here’s a link to youtube of some early prototypes of the trap calibration tools coming out soon. They will look a bit different to this once we get them produced. They should be available in a couple of weeks.
2 Likes
Hi Marcus
good that someone will be making tools available as it’s really needed, mine I only really make for local groups as hand making everything is not efficient
I was just about to post my sear tool which I have already mentioned in other posts, which luckily does not clash with yours
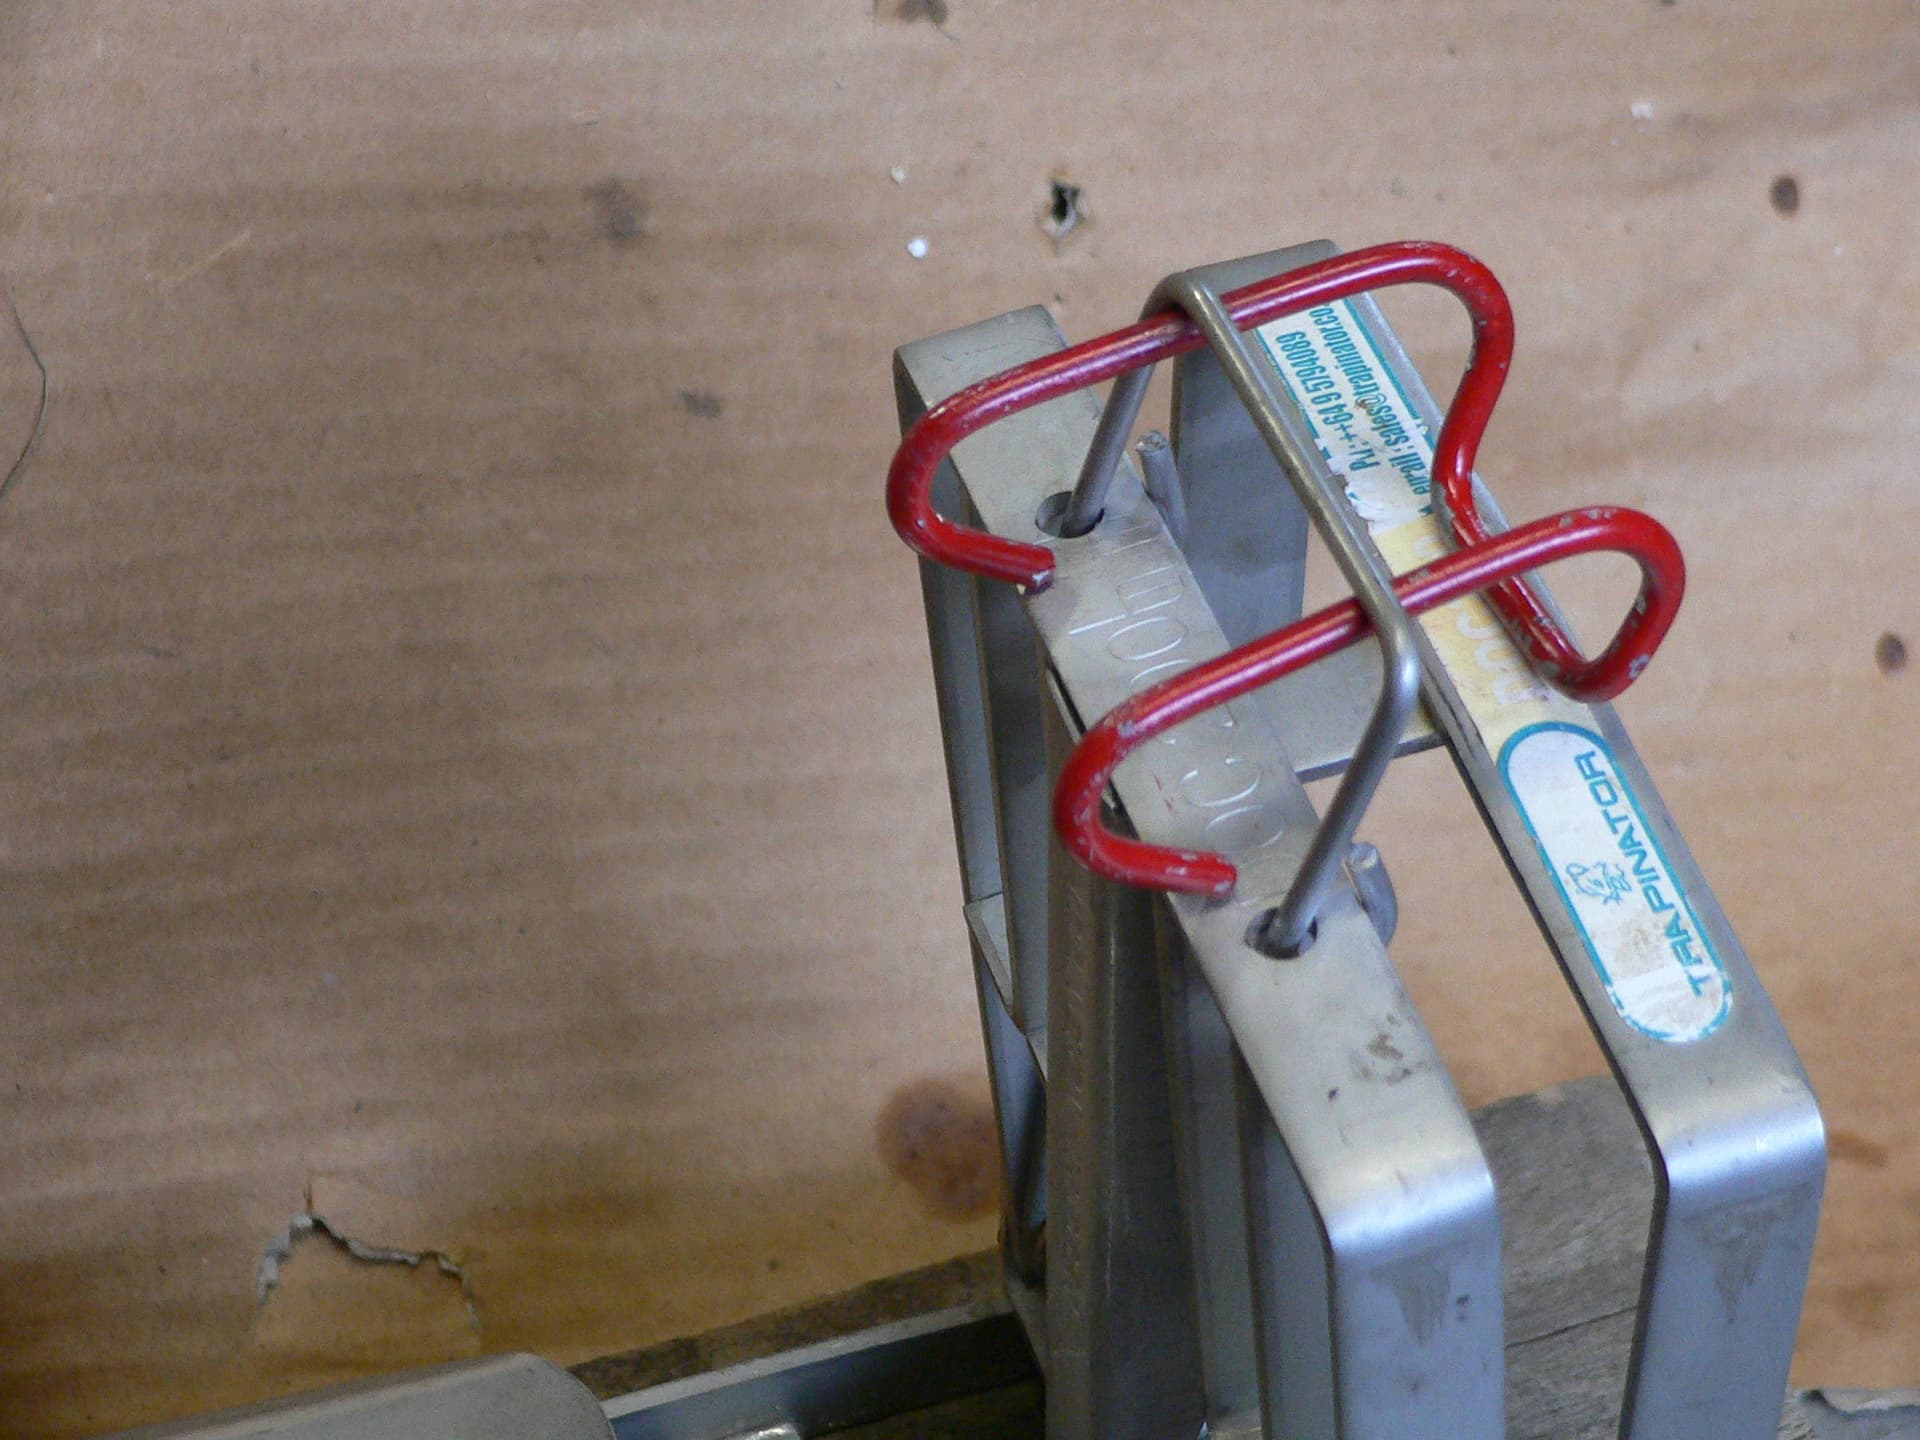
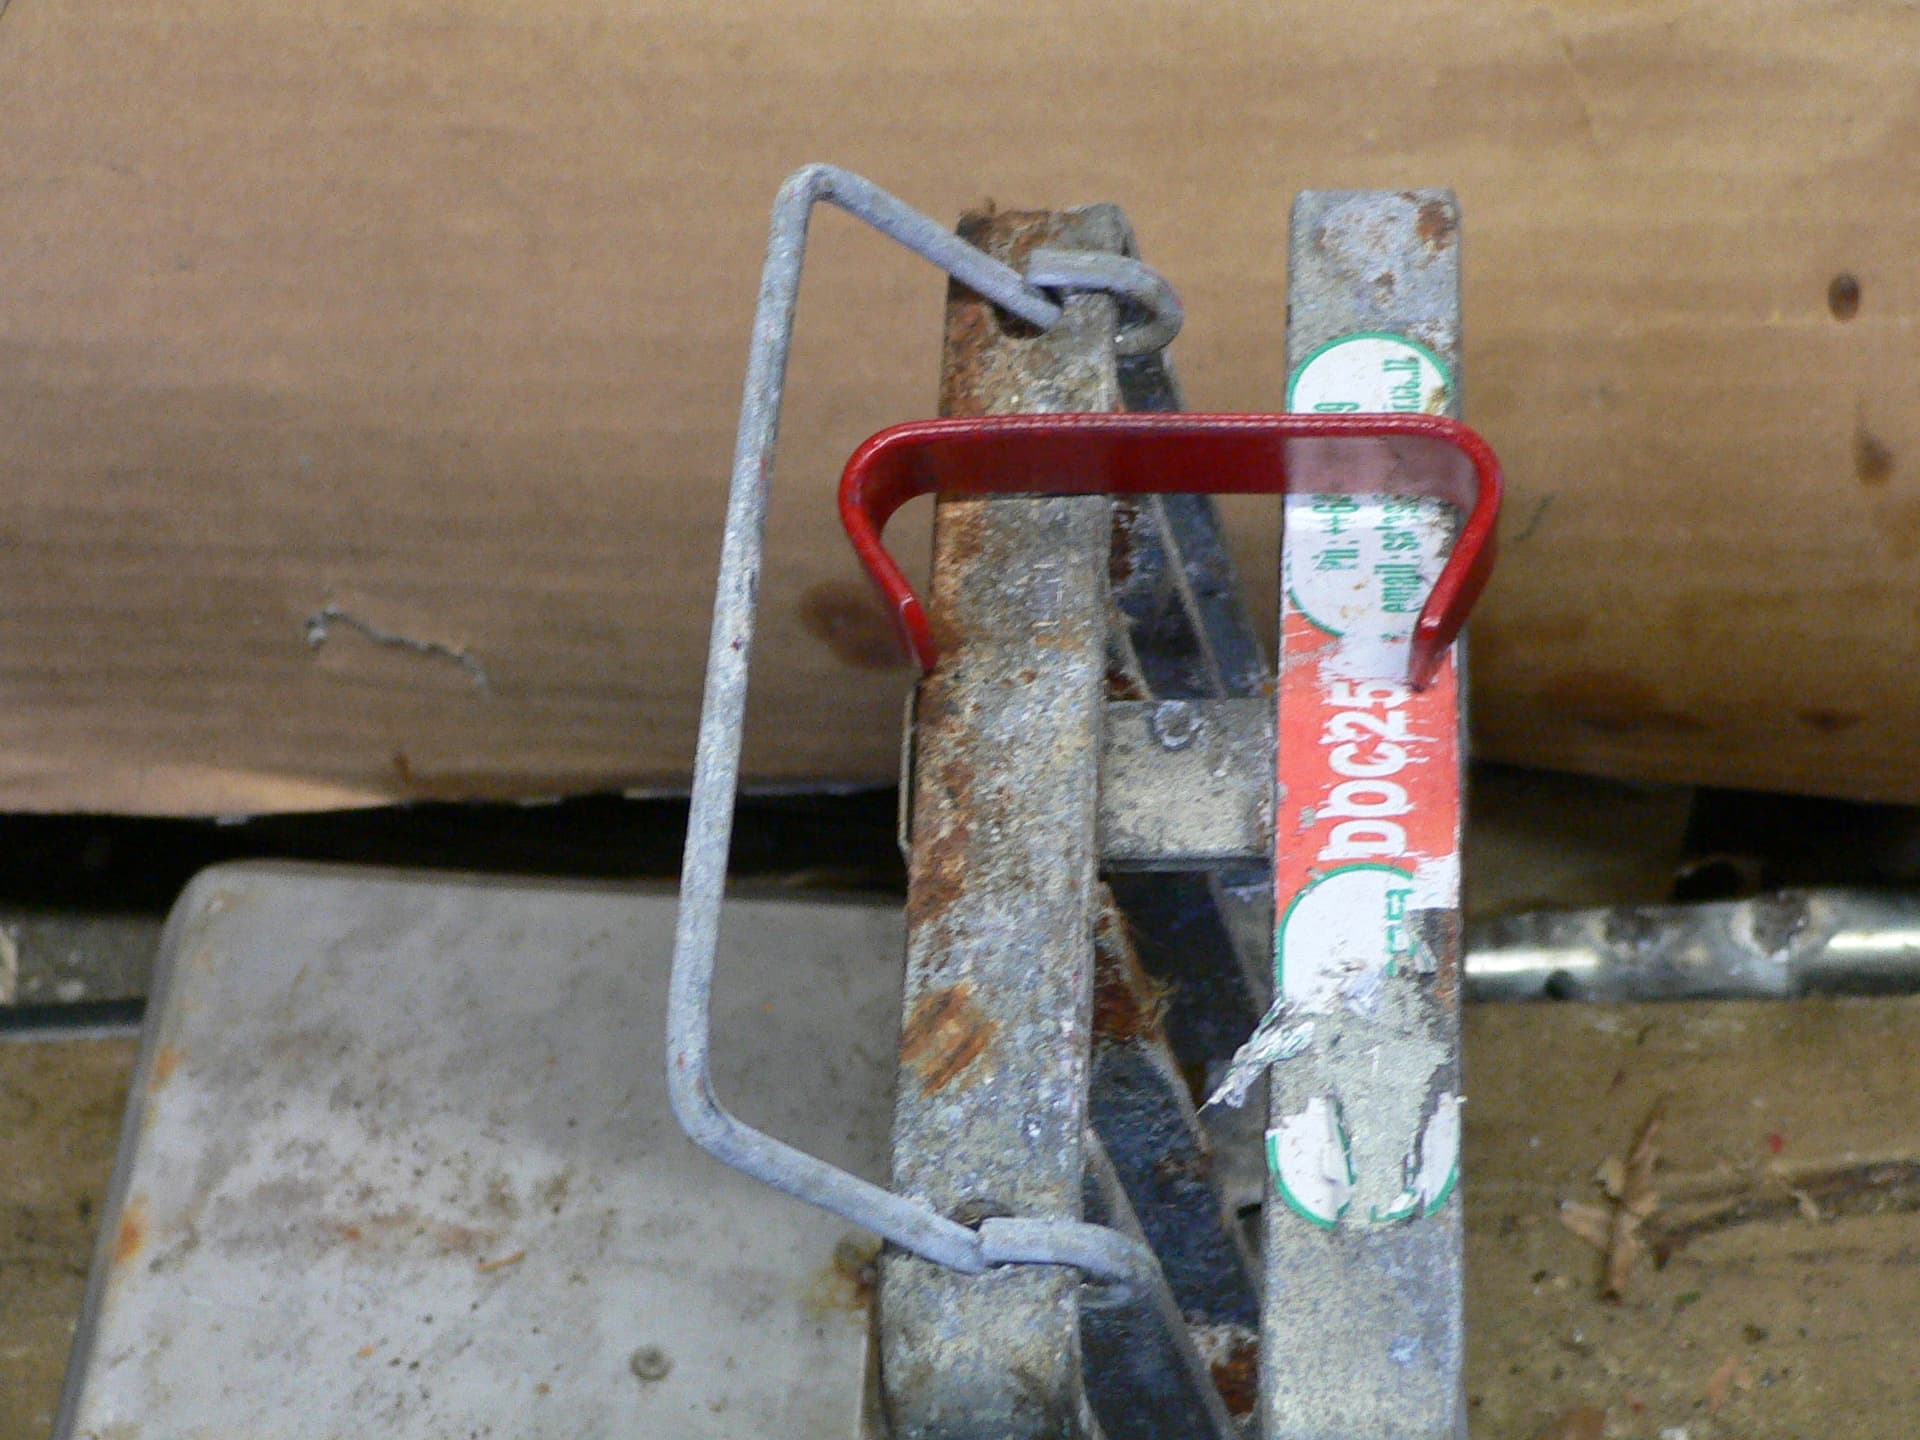
I have incl a photo of my 200 safety clip, I make the same for 250, but people prefer the really heavy 250 safety. These are more secure than the DOC ones and have the advantage that they can not be fitted wrong, clip on outside of the trap
I don’t care if people copy these as my objective is just to give people better tools and info so they can do a better job
cheers
3 Likes
Hi Dave
the 250 version is a bit like a heavy duty version of what UK Game and Wildlife recommend.
https://www.gwct.org.uk/advisory/guides/hints-and-tips-for-using-doc-traps-in-the-uk/
I made some of the UK versions: they sit nicer, but if you fire the trap a few times with that safety in place, they do seem to start to straighten out a bit. Your heavy duty one would solve that problem. I’ve been wondering about adding it to our products in the future.
Hi Marcus
Yes I have seen them before that UK one gives me the creeps it looks like it is just made from construction brace strap.
I started making heavy duty safety clips after I had a DOC 200 clip fly off in my workshop, I was quick enough that I only had blood on the floor, but later a volunteer checking traps had one come off resulting in a broken finger.
As I mentioned my 200 clip has to go under the handle so you don’t get the problem with clips placed on the outside falling off, The 250 one also can’t be put in a dangerous place
I also make a 250 one the same as the 200 out of No 8 wire and paint them red so they stand out
250 one in photo is 16 x 3 mm flat bar
Earlier this year I started making a slightly different 250 clip one leg is long and more angle this is to suit the new 250’s and the old ones. I don’t know if the traps are now made over overseas but the design has changed , some measurements are different and kill bar is taller , they only just fit in the Old Boxes and I had to grind some lids to let so the kill bar does not catch
with the taller Kill Bar the std DOC clip sits backwards and they look very dicey to use
I don’t have a photo on this computer but can take a photo and post it.
I make 2 setting tools for the 200’s and 1 for the 250 out of light round tube, half the weight of the DOC ones plus mine do not have the problem of catching on the side of box before the trap is set. For my local groups I generally throw in a safety clip when they buy setting tools
cheers